
In order for me to install our new custom holding tank, I needed to remove that existing thu-hull fitting that was originally meant to exhaust macerated holding waste back into the water. Since we sail on the Great Lakes system, a collection of fresh water lakes and rivers, dumping this waste is illegal and frankly just not desirable. While I might have been able to re-use it as a potential intake for a wash down hose, the new holding tank is wider than the old one and sits right over top the thru-hull location, so it had to go.
The removal was fairly easy and accomplished primarily with a wood chisel and hammer. The fitting was a marlone?? or nylon style fitting and was seated onto a wood disk that was cemented to the hull interior surface. After removing some of the screwed connections into the wood I was able to cross cut the wood from the hull by hammer flush to the hull surface. I some ways I thought it was too easy, and reminded me that I need to make sure that I don’t have any items leaning or pushing sideways against any of the other thru-hull fittings.

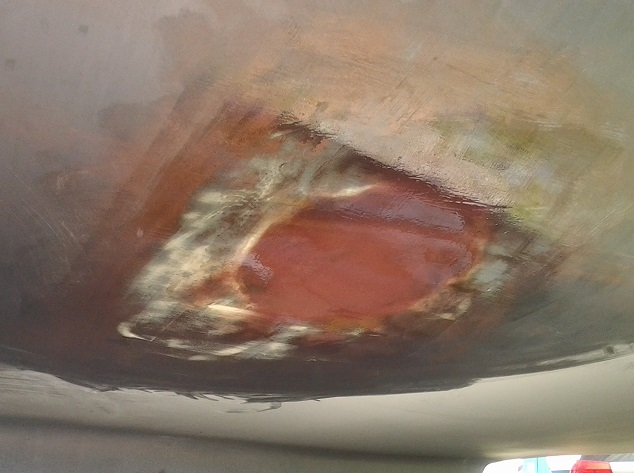
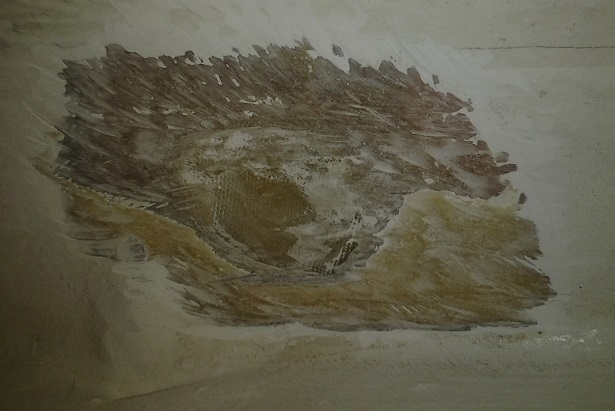
Thru-hull removed exposing hole in hull.
Once removed from the inside there was a small mushroom piece that had been screwed into it from the outside and it basically dropped out. (By the way, we’re working on the boat while it’s in it’s cradle. I figured I didn’t need to say to take it out of the water 🙂 ) I next used a sander to clean off the rough edges and to grind down the gelcoat and paint to the fiberglass and epoxy below. I tried to keep the interior surface fairly smooth and flat.
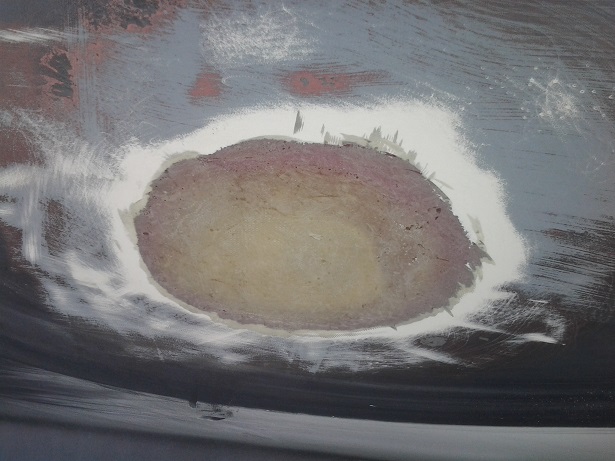
On the exterior I ground down the hull to the opening by about an inch in radius for every quarter of an inch of hull thickness. This makes the exterior surface flare open from the smaller thru-hull opening. I also sanded back the anti-fouling paint around the area to expose the fiberglass around the opening’s perimeter. This is all done in preparation to receive the new glass and epoxy.

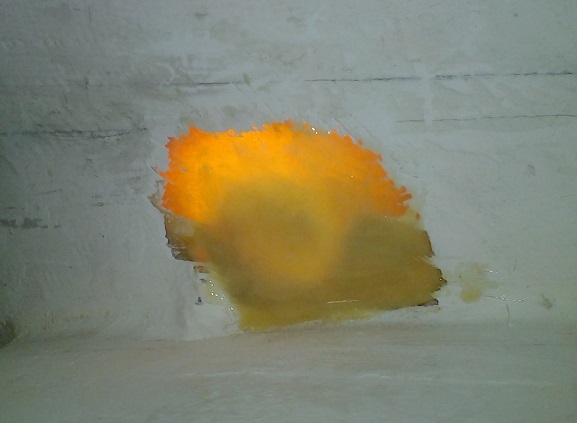
Exterior hull ground down to slope in towards the hole.
We all have our favourite glassing/repair systems, but after several years I have become a fan of the West System, with their easy to dispense pumps for their epoxy and hardener jugs. For this repair I also used micro fibres as thickener (not micro bubbles or balloons) since our application was going to be on the underside of the hull. Gravity was going to be our enemy.
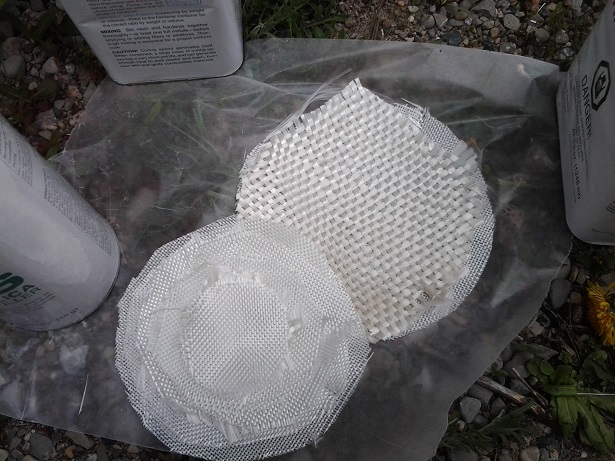
Cutting out fibreglass cloth a varing weights and diameters for the patch.
I prepared for the patching by cutting out every decreasing circles of glass cloth and mat, from the larges outside dimension down to the smallest inside dimension of the opening. I laid them down on a sheet of wax paper from the largest to the smallest. I believe I had a sheet of glass for every 1/8″ of hull thickness.
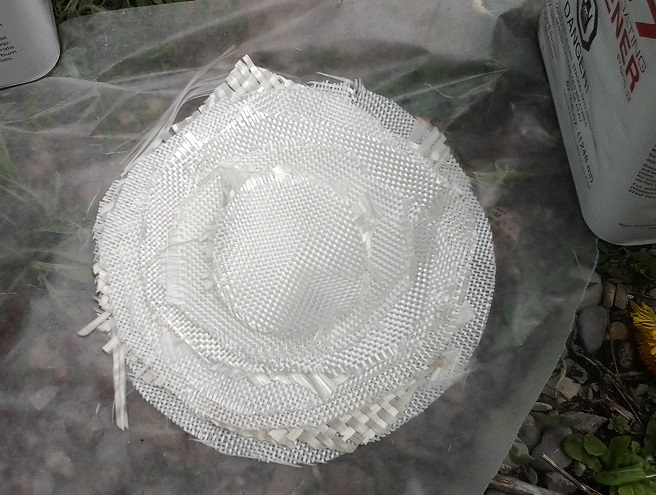
The fully assembled patch. Tested in location to confirm sizing.
At this point a person could go one of two ways in applying the glass. Either you epoxy each layer of glass against the hull one at a time starting from the smallest to the largest, or you create a big “bandage” and apply it all at once. I’m sure the die-hards will tell you to do it one layer at a time, but time was not on my side (I only had so long to get the job done), and I did not want to fight gravity with every layer, so I opted to do it all at once. Also to my advantage was that this patch was not enormous. If it had been much larger doing it as a single application would have been out of the question.

Patch held in place using the cradle support.
As they say preparation is everything. I intended to hold the patch in place with the cradle support (since it was right there). If you are not as luck, you will want to make sure that you have adequate bracing and support in place BEFORE you mix the epoxy. I started by mixing the appropriate amount of epoxy and thickener to a consistency that I liked and then mixed in the hardener. A bit more thickener to offset the hardener fluidity and the epoxy was ready. I next brushing the epoxy first onto the wax paper and then laid the largest glass layer onto it, making sure that all bubbles came out and the glass got soaked. Then I applied more epoxy and the next smallest layer and so on until I had the entire patch laying in front of me ready to be lifted into place. I then applied the epoxy to the exterior of the hull, ensuring that the full surface was whetted to minimize bubbles.
The lifting into place requires a bit of finesse. While you can rely on surface tension to temporarily hold the patch into place, the wet epoxy actually acts like a lubricant and the different layers can shift and the whole patch will eventually slide right off the hull. Supporting it carefully I lifted it up into the centre of the opening first and then pressed it “up” around and outwards. Once connected to the hull and most of the bubbles worked out I quickly supported it from below. I kept my eye on it because even with your support in place it can still shift and move a bit, and I did have to make minor adjustments until the epoxy started to set. You cold try to add more hardener to speed this up, but then you also make the work area harder and more brittle, from my experience.
Patch sanded down level to hull.
Once hardened, I peeled the wax paper off and let it dry further. When I was sure that we had a hard surface, I used a rough paper and sanded the entire exterior surface flush to the surrounding hull area. The exterior surface at this point was still somewhat irregular and not flush with the hull. I next mixed up more epoxy with ???? to a body filler paste consistency. Applying it generously I then used a long smooth surface slat of wood to spread it to the shape of the hull surface around the area.
Irregularities filled, sanded flush and epoxy barrier coat applied.
Once dry I sanded it with ever finer sand paper until it was as smooth as the hull. I now coated the entire area with a final un-thickened coat of epoxy for moisture proofing/sealing the surface. A final light sanding and cleaning with acetone, and the surface was ready for the anti-fouling paint.
Interior view of the patch is still rough and a small gap appears between the patch and hull.
Finishing the interior smooth and applying an epoxy layer inside to fill the gap.
On the interior it was evident that the patch did droop a bit because it wasn’t fully flush with the collar of the opening. I used thickened epoxy and glass to level is up, ensure that I did not trap any air bubbles. A final flush glass layer over the opening and the glass work was done. Some sanding and then a coat of white epoxy paint completed the interior work. Once the anti-fouling paint was done it was impossible to tell where the thru-hull had been.
